


Have you ever struggled with electromagnetic interference messing up your electronics? I know how frustrating that can be. That’s where aluminum foil tape comes in handy. It’s a game-changer for blocking unwanted signals and protecting sensitive components. Plus, it’s not just for electronics. You’ll find it sealing HVAC ducts, wrapping pipes, and even securing insulation. Its ability to block moisture and air makes it a favorite in construction and automotive industries too. Pretty versatile, right?
Key Takeaways
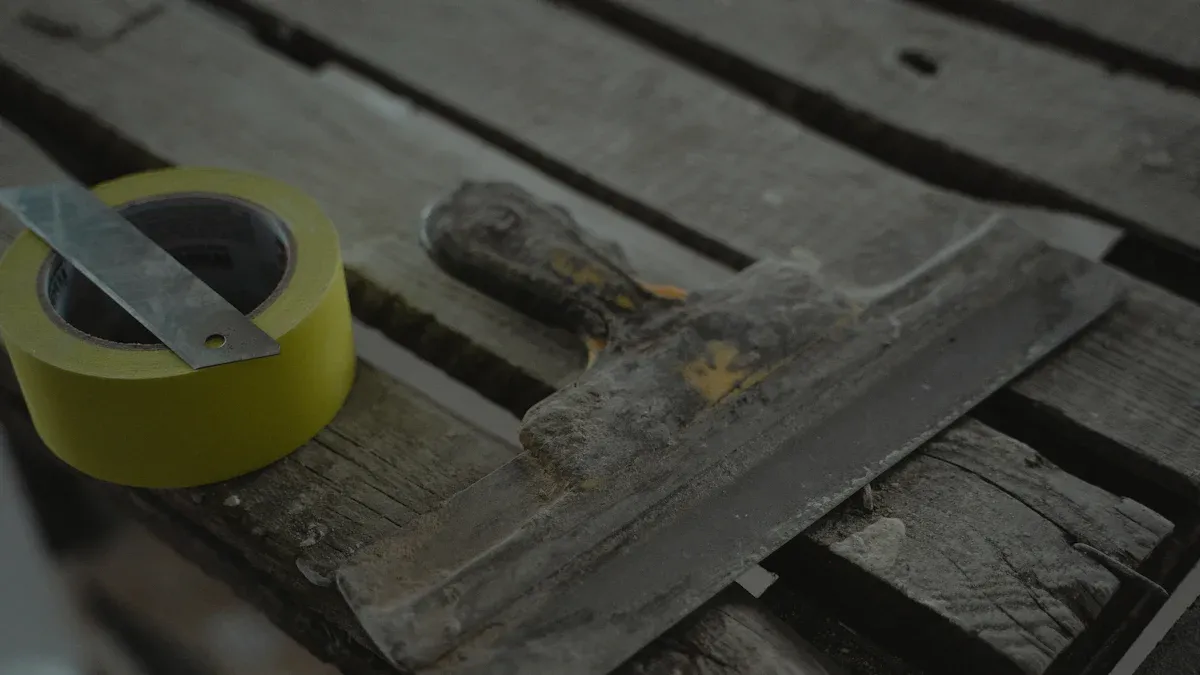
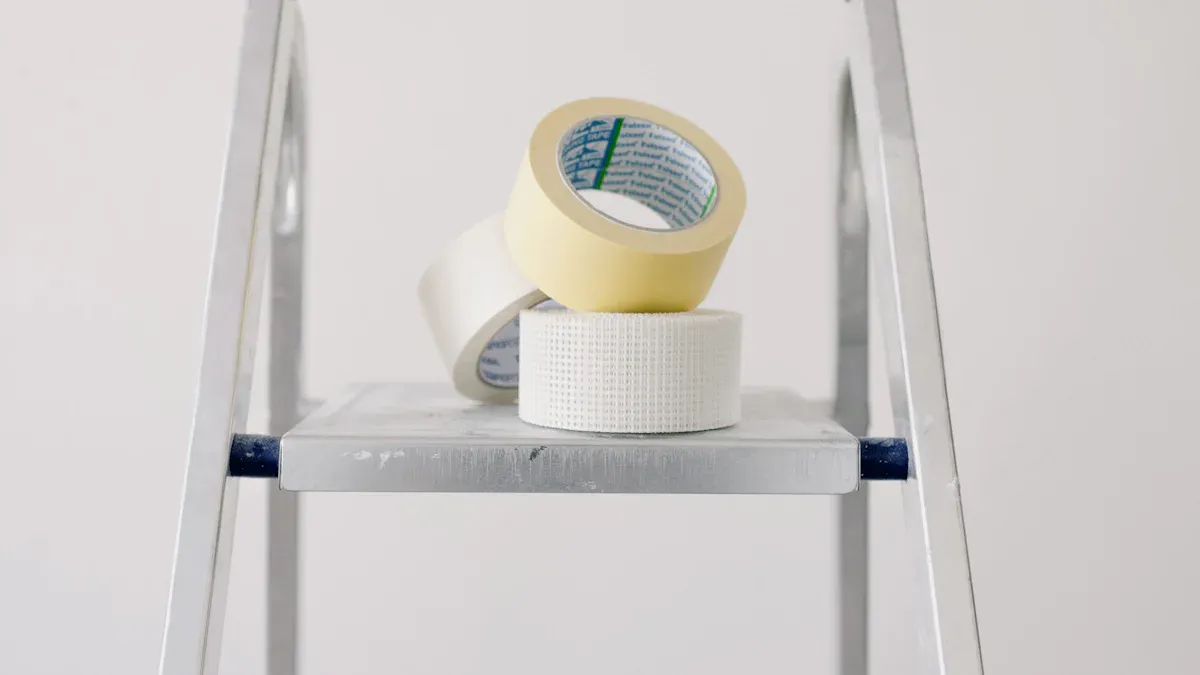
- Collect all tools you need before you begin. These include aluminum foil tape, cleaning items, and cutting tools. Being ready makes the job easier.
- Make sure the surface is clean and dry first. A clean surface helps the tape stick better and avoids problems later.
- Slightly overlap the tape where it meets for a tighter seal. This simple step makes it last longer and work better.
Preparation
Tools and Materials Needed
Before you start, gather everything you’ll need. Trust me, having the right tools makes the process so much smoother. Here’s what you should have on hand:
- A roll of aluminum foil tape.
- A clean cloth or sponge for wiping surfaces.
- A mild cleaning solution to remove dirt and grease.
- A measuring tape or ruler for precise measurements.
- Scissors or a utility knife to cut the tape.
- A roller or just your fingers to press the tape firmly into place.
Each item plays a role in ensuring the tape sticks properly and lasts longer. For example, cleaning tools help remove dust and grease, while a roller smooths out air bubbles for a tight seal.
Cleaning and Drying the Surface
This step is crucial. A dirty or damp surface can ruin the tape’s adhesion. Start by wiping the area with a clean cloth and a mild cleaning solution. Make sure to remove all dirt, dust, and grease. Once it’s clean, let the surface dry completely. Moisture can weaken the tape’s bond, so don’t skip this step. I’ve found that taking a few extra minutes here saves a lot of frustration later.
Tip: If you’re in a hurry, use a hairdryer to speed up the drying process. Just make sure the surface isn’t too hot before applying the tape.
Measuring and Cutting the Tape
Now it’s time to measure and cut your aluminum foil tape. Use a measuring tape or ruler to determine the exact length you need. This ensures you don’t waste tape or end up with gaps. Once you’ve measured, cut the tape cleanly with scissors or a utility knife. A straight edge makes application easier and gives a professional finish.
Pro Tip: Always cut a little extra tape if you plan to overlap sections. Overlapping improves coverage and creates a stronger seal.
Application Process
Peeling the Backing
Peeling the backing off aluminum foil tape might seem simple, but it’s easy to mess up if you rush. I always start by folding one corner of the tape slightly to separate the backing. Once I get a grip, I peel it back slowly and evenly. This keeps the adhesive clean and ready to stick. If you peel too fast, the tape might curl or stick to itself, which can be frustrating. Take your time here—it’s worth it.
Tip: Only peel a small section of the backing at a time. This makes it easier to control the tape during application.
Aligning and Placing the Tape
Alignment is key to a neat and effective application. I like to position the tape carefully before pressing it down. To do this, I peel back a small section of the backing, align the tape with the surface, and press it lightly into place. This way, I can adjust it if needed before committing to the full length. Trust me, this step saves a lot of headaches later.
Smoothing the Tape for Adhesion
Once the tape is in place, it’s time to smooth it out. I use my fingers or a roller to press the tape firmly onto the surface. This removes air bubbles and ensures a strong bond. Applying firm pressure is crucial here. It not only improves adhesion but also prevents the tape from lifting over time.
Pro Tip: Work from the center of the tape outward to push out any trapped air.
Overlapping for Complete Coverage
Overlapping the tape slightly at seams creates a stronger seal. I usually overlap by about half an inch to ensure there are no gaps. This technique is especially useful when sealing ducts or wrapping pipes. It’s a small step that makes a big difference in durability and effectiveness.
Trimming Excess Tape
Finally, I trim any excess tape for a clean finish. Using scissors or a utility knife, I carefully cut along the edges. This not only improves the appearance but also prevents the tape from peeling or catching on anything. A neat trim makes the whole project look professional.
Note: Always double-check for loose edges after trimming. Press them down firmly to secure the tape.
Post-Application Tips
Testing Shielding Effectiveness
After applying aluminum foil tape, I always test its shielding effectiveness to ensure it’s doing its job. There are a few ways to check this:
- Use the plane wave shielding effectiveness method. This involves measuring how well the tape blocks electromagnetic waves.
- Make sure the enclosure is large enough to avoid interference from the transmitting antenna.
- Measure the attenuation through a specified opening to see how much interference is reduced.
The primary way aluminum foil tape works is by reflecting electromagnetic waves. It also absorbs some of the interference, especially at higher frequencies. You don’t need super high conductivity for effective shielding. A volume resistivity of about 1Ωcm usually works just fine.
Tip: Online calculators can help you figure out the right thickness for your tape based on the frequency you’re dealing with.
Inspecting for Gaps or Loose Edges
Once the tape is in place, I carefully inspect it for any gaps or loose edges. These can weaken the shielding and let interference sneak through. I run my fingers along the edges to make sure everything is secure. If I find any loose spots, I press them down firmly or add a small piece of tape to cover the gap.
Note: Overlapping sections of tape by about half an inch during application helps prevent gaps and ensures a stronger seal.
Maintaining the Tape Over Time
To keep the tape working effectively, regular maintenance is key. I check it every few months to make sure it hasn’t lifted or worn out. If I notice any damage, I replace the affected section right away. For areas exposed to moisture or heat, I recommend inspecting more frequently.
Pro Tip: Store extra tape in a cool, dry place so you’re always ready for quick repairs.
Applying aluminum foil tape is easier than you might think. With proper preparation, careful application, and regular maintenance, you’ll enjoy long-term benefits like durability, water resistance, and reliable shielding. I’ve seen it work wonders in HVAC systems, insulation, and even pipe wrapping. Follow these steps, and you’ll get professional results every time!
FAQ
What surfaces work best for aluminum foil tape?
I’ve found that smooth, clean, and dry surfaces work best. These include metal, plastic, and glass. Avoid rough or greasy areas for better adhesion.
Can I use aluminum foil tape outdoors?
Absolutely! Aluminum foil tape handles outdoor conditions well. It resists moisture, UV rays, and temperature changes. Just make sure to apply it properly for long-lasting results.
How do I remove aluminum foil tape without leaving residue?
Peel it off slowly at an angle. If residue remains, I use rubbing alcohol or a mild adhesive remover. It works like a charm every time!
Tip: Test adhesive removers on a small area first to avoid damage.
Post time: Feb-20-2025